In this article , we will explore how to create the first “Hello World” ASP.NET MVC Project.
How to Create an ASP.NET MVC Project ?
Follow the below steps to create the first ASP.NET MVC Project.
1. Launch Visual Studio 2012 .
2. Click New -> Project
3. This will show the list of all available templates available currently in Visual Studio 2012. Select Web templates from Templates-> Visual C# section.
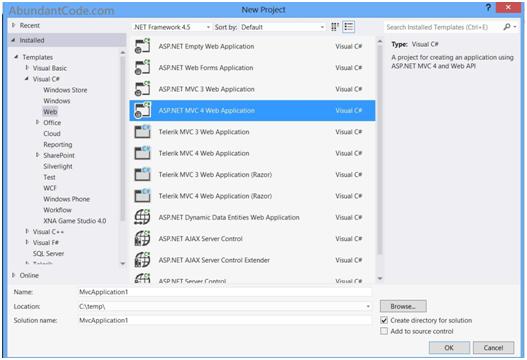
4. Select “ASP.NET MVC 4 Web Application” and provide the proper name and location for the project and click OK. Note that Visual Studio 2010 also has the templates for ASP.NET MVC 3 , select the templates as per your requirements.
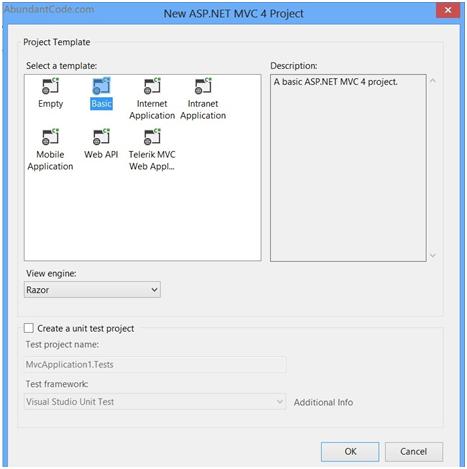
5. This will display the New ASP.NET MVC 4 Project’s Project template selection dialog . For simplicity , we will select Basic and click OK. The View engine Dropdownlist includes options like “Razor” and “ASPX” view . The Razor view was introduced from the ASP.NET MVC 3 version. Select the View Engine again as per your needs.
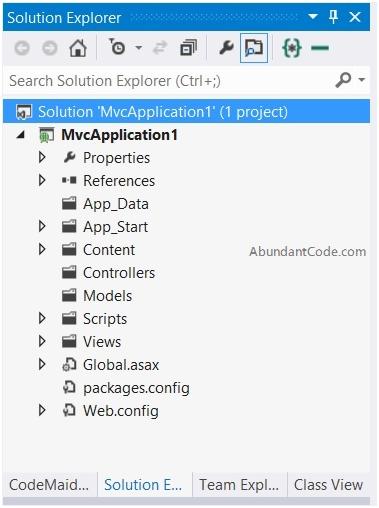
6. Once created , the Visual Studio 2012 will add the necessary files and folders to the Visual Studio solution.
7. Hit F5 to run the Project .
You might see the “The resource cannot be found.” error since the Basic template does not contain any Views currently . In the next series of articles , we will explore how to add controller or Views to the project.