Download & Install Windows 10 from a USB Flash Drive
In this post, you’ll understand how to download Windows and create a bootable Windows 10 installation USB drive which will let you to install Windows 10 on your machine.
Download & Install Windows 10 from a USB Flash Drive
To perform the installation, you will need Windows 10 .iso file or Windows 10 DVD. You can download Windows 10 from Microsoft’s Windows 10 Download Center.
You will also need the following.
- USB Drive with minimum of 5 GB of free space. Ensure that you don’t have any important files inside it as it will be formatted.
- Windows PC that you will be using to create the bootable Windows installation of USB drive.
- Machine where you will be installing Windows 10. This can be same as the Windows PC that was used to create the bootable USB drive (in case needed).
USB Drive – Format, Primary Partition enabled and Copy the Windows Setup.
You will need to connect the USB drive to your machine and open Disk Management from Windows Start Menu.
Right click the USB drive partition and select Format. You will need to select FAT32 file system so that you will be able to boot using BIOS based or UEFI based computers.
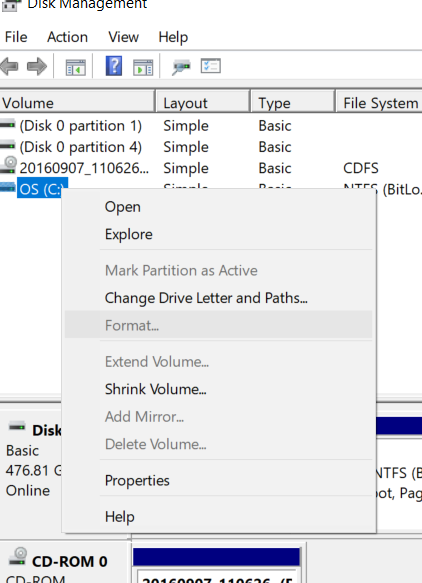
Once this is done, set the partition as active by right clicking on the USB drive partition and select “Mark as Active”.
The next step is to copy the Windows Setup file to the USB flash drive. You can use File Explorer to copy and paste the contents of the Windows ISO file to USB drive.
Install Windows
To install Windows 10 to new computer, just connect the USB flash drive to the machine.
Switch on the computer/laptop and press the shortcut key (F12/F2 depending on the PC) to open the boot device selection menu. Select the “Boot from USB flash drive” option.
Windows 10 Setup will immediately start. Follow the onscreen instructions to install Windows.
Once the installaton is complete, remove the USB drive.
Recent Stories
-

GB Sign in SonarQube Architecture Governance: Prevent AI Code Drift youtube.com
-

GB Sign in The C4 Model: Visualizing Software Architecture •... youtube.com
-

Inside the AI Architect That Got 40,000 Users in 48... youtube.com
-

5 Architectural Diagrams You Can Create with ChatGPT WITH PROMPTS youtube.com
-

Types of Software Architecture youtube.com
Leave Your Comment